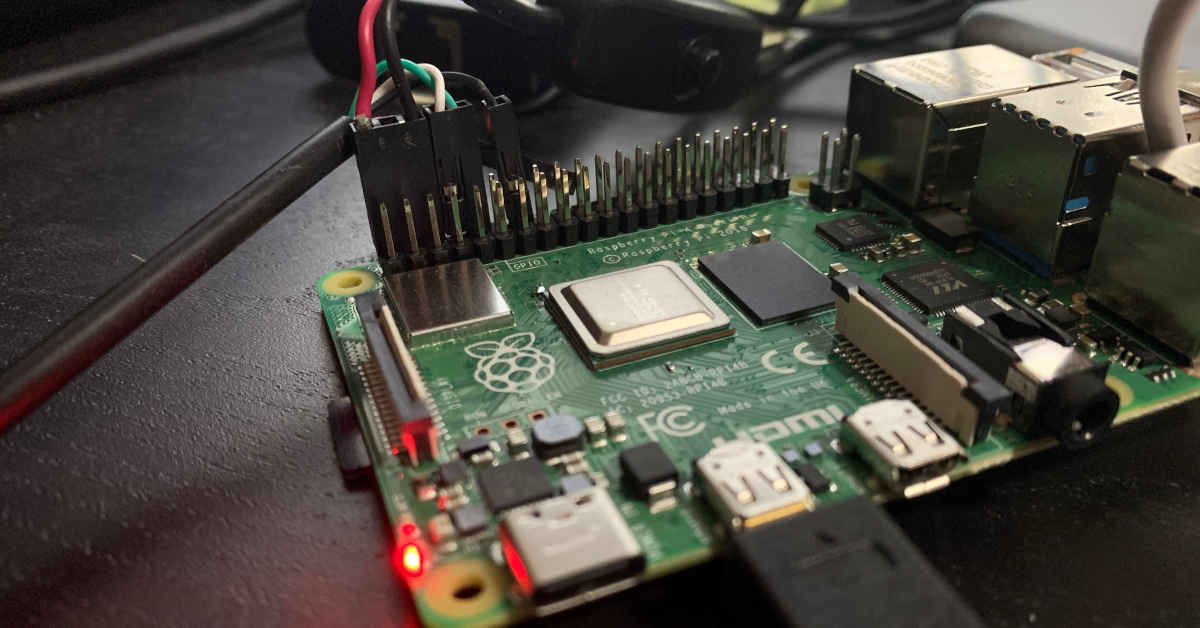
I wondered if I could use my Raspberry Pi 4 as a gateway device to shape and filter my network traffic. It only has one NIC, but OpenBSD supports many USB-NIC devices out of the box. Let’s see how successful this idea is.
Update firmware on Raspberry Pi 4
Instructions here: https://github.com/AshyIsMe/openbsd-rpi4
Installing OpenBSD 6.9 on Raspberry Pi 4
Download and checksum install69.img from the OpenBSD 6.9 FTP site.
Put the install69.img file on a USB stick. From a Linux terminal you will want:
$ sudo lsblk
$ sudo umount /dev/sda1
$ sudo dd if=Downloads/install69.img of=/dev/sda bs=1M status=progress
NOTE:* The usual ‘know your disk’ memes apply, mine was /dev/sda yours may not be.
- Insert the USB stick in the Raspberry Pi 4
- Pull the SD Card out
- Power on the Raspberry Pi 4
- When the system starts to boot from USB and gets to the OpenBSD
boot>prompt then re-insert the SD Card so it gets a number in the device tree. - At the prompt:
boot> set tty fb0 - Choose
ifor(I)nstalland proceed with the following notes:
The network device to configure is
bse0- this is the onboard LAN portWhen asked which disk to install to, press
?and you will see something like:
sd0: SD/MMC (14.8G)
sd1: Sandisk Ultra USB 3.0 (57.3G)
now you can choose sd0 with confidence
Install to the whole disk and use
(a)utolayoutWhen asked for the location of the sets,
diskand when asked if it is already mounted sayno, partitionaand6.9/arm64When asked which sets to install type
-x*to remove allx11setsSay
yesto continue without verification - you did run the checksum on theinstall69.imgright?Choose your timezone, then be patient while it installs and re-links the kernel
Choose
(R)ebootand when the screen goes black, remove the USB stick that contains the OpenBSD installer
First Boot of OpenBSD on Raspberry Pi 4
OpenBSD should now boot from the SD/MMC card that we installed to. Remember to catch the boot prompt:
boot> set tty fb0
We will make that fb0 option more permanent in a moment…
There will be some slowness with the reordering libraries phase, but be patient. On first boot, if the network cable is connected, you will see Installing: bwfm-firmware for the Broadcom SoC (including the WiFi forthe RasPi), this is automatic, you don’t need to do anything!
Setup doas
Change to root user by typing su and enter the root password
# echo permit nopass keepenv setenv { PATH } jas as root
Now exit the root shell and test permissions:
$ doas ls -la /root
Fix boot options
Add a couple of options to make boot smoother:
$ doas su
# echo set tty fb0 >> /etc/boot.conf
And figure out which disk is the root disk (assuming you’re on SD/MMC like me):
# mount
/dev/sr0a on / ffs (local)
<-- snip -->
So the root file system device is sr0a:
$ doas su
# echo set device sr0a >> /etc/boot.conf
Patch the operating system
If there are available patches for the operating system, you can apply them by running:
$ doas su
# syspatch
Be warned, it takes quite a while, just be patient :)
Remove unneeded services
If you check the process table:
$ doas su
# ps ax
You will likely see processes for sndiod and smtpd - which we do not need on this small routing device. So, let’s shut them down:
$ doas su
# rcctl disable sndiod
# rcctl stop sndiod
# rcctl disable smtpd
# rcctl stop smtpd
Install packages
For me, being a vi hater, the nano package is essential:
$ doas pkg_add nano
References
- [1] AES FDE on Raspberry Pi 4 OpenBSD Madness here
- [2] OpenBSD 6.8 on RaspberryPi 4 B
- [3] How to install RasPi OS image from MacOS
- [4] Boot Ras Pi 4 from USB
- [5] Build an OpenBSD Router